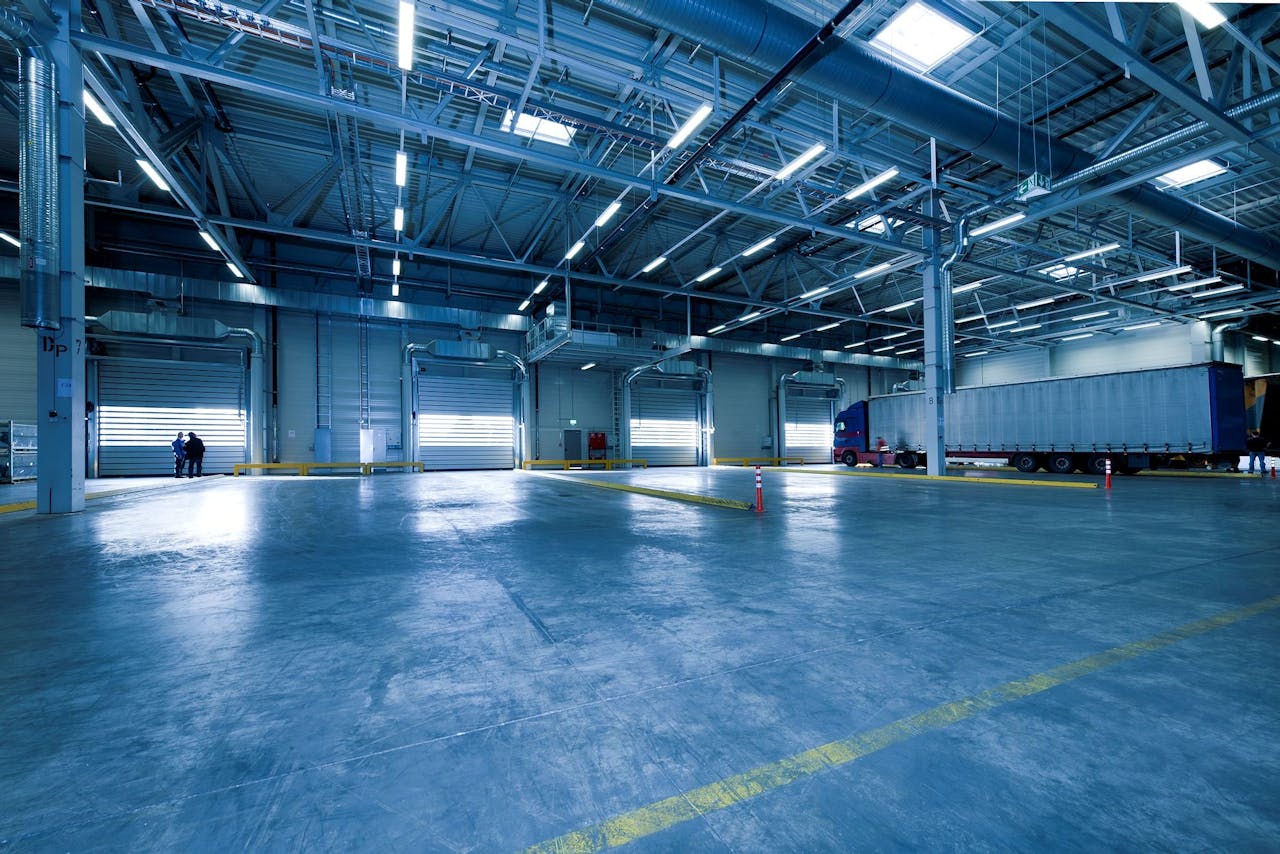
Common Epoxy Floor Problems and How to Fix Them
Epoxy flooring is popular due to its durability and sleek look, but it can come with challenges. Sometimes, you might notice issues like peeling, bubbles, or even discoloration on the surface. These problems can be frustrating, but they are not insurmountable. With the right information and techniques, you can restore your floors to their original glory.
Let’s explore how you can tackle these common epoxy issues effectively.
Peeling and Flaking Issues
Peeling and flaking are common problems in epoxy floors and can be frustrating. These issues usually happen when the epoxy does not adhere properly to the floor surface. There are several reasons this might occur. One common cause is poor surface preparation. The epoxy will struggle to adhere if the substrate is not clean, dry, and free of dust or oils. Moisture present on the surface can also lead to peeling later. Another factor could be applying the epoxy in unfavourable conditions, like high humidity or extreme temperatures, which can interfere with the bonding process.
Preventive measures are crucial in avoiding peeling and flaking. Here’s how you can prevent them:
– Surface Preparation: Ensure the substrate is clean, dry, and roughened slightly for better adhesion.
– Moisture Testing: Conduct moisture tests to confirm appropriate conditions before application.
– Environmental Conditions: As the product guidelines recommend, apply epoxy in ideal temperature and humidity settings.
If you face peeling, you can fix it by removing the affected sections with a scraper, sanding the substrate, and thoroughly cleaning the area. Once prepared, you can apply a fresh coat of epoxy, ensuring all conditions are optimal to prevent recurrence.
Bubbles in the Epoxy Surface
Bubbles can appear in epoxy coatings during the application and curing process. These air bubbles are often trapped because of sediment or an uneven application method. Sometimes, air present in the substrate escapes into the curing epoxy, resulting in bubbles. If the epoxy mix is stirred too quickly, it might also cause aeration that forms bubbles. The roller or squeegee can introduce air if not applied with consistent, careful strokes.
To eliminate bubbles and avoid them in the future, follow these steps:
1. Proper Mixing: Mix epoxy slowly and thoroughly to avoid introducing air into the solution.
2. Use of a Primer: Apply a primer coat to seal the surface and prevent air escape from the substrate.
3. Application Tools: Use a spiked roller immediately after laying the epoxy to release trapped air bubbles.
4. Temperature Control: Maintain a consistent, moderate temperature to ensure the epoxy cures correctly and doesn’t trap air.
Following these steps, you can address surface bubbles and reduce the chance of them forming during epoxy application. Proper preparation and application techniques significantly minimize air bubbles, ensuring a smooth floor finish.
Peeling and Flaking Issues
Peeling and flaking in epoxy floors can be frustrating, but understanding the causes helps address these issues effectively. One of the primary causes is improper surface preparation before applying the epoxy. If the concrete beneath has not been cleaned or repaired correctly, the epoxy won’t stick well and may peel. Moisture is another culprit, as excess moisture trapped in the concrete can lead to poor adhesion and cause the epoxy to lift.
Preventive measures are crucial to avoid peeling and flaking. Before applying epoxy, ensure the surface is clean, dry, and free from oil or grease. It’s also essential to conduct a moisture test on the concrete. If moisture is present, use a vapour barrier primer before the epoxy application.
If peeling or flaking has already occurred, the solution involves removing the affected area and reapplying the epoxy. Sand down the peeled sections to create a smooth surface, then thoroughly clean and dry the area. Apply a new coat of epoxy, following manufacturer instructions for the best results and adherence.
Bubbles in the Epoxy Surface
Air bubbles in epoxy surfaces can ruin the smooth finish everyone desires. These bubbles often form when the epoxy is mixed too quickly or applied over a porous surface that releases trapped air. Additionally, applying epoxy in a humid environment or incorrectly mixing the resin and hardener can also lead to bubbling.
To prevent bubbles from forming, mix the epoxy slowly and use a spiked roller during application to help release trapped air. A heat gun or torch can also help eliminate bubbles by gently running the heat across the surface, allowing bubbles to rise and pop before the epoxy cures.
Here’s a step-by-step guide for dealing with bubbles:
1. Identify the Cause: Determine whether mixing, environment, or surface preparation is causing bubbles.
2. Use Proper Tools: Employ a spiked roller to disperse air during application.
3. Apply Heat: Carefully use a heat gun or torch to remove bubbles on the surface.
4. Reapply: If bubbles persist, sand down the problematic section and apply a fresh coat of epoxy.
Adopting these practices can significantly reduce the risk of bubbles, creating a flawless surface.
Conclusion: Perfecting Your Epoxy Floor
Dealing with epoxy flooring issues like peeling, flaking, and bubbles requires understanding and action. By identifying the root causes and applying the right solutions, homeowners can maintain the beauty and functionality of their epoxy floors. With proper care and preparation, these resilient surfaces will enhance your garage for years.
Is your garage floor in need of attention? The Garage Guys are here to help with expert solutions and services that ensure your epoxy floor in Vancouver looks and performs its best. Contact us today and let our experienced team guide you toward a flawless floor finish.