Best Practices for Professional Epoxy Floor Installation
If you’re thinking about upgrading your garage floor, you might have stumbled upon the idea of using epoxy flooring. It’s a popular choice for those wanting both durability and a sleek look. Epoxy flooring isn’t just tough; it gives your space a neat appearance and can handle the weight of vehicles and equipment. Getting it right, though, is the trick. This isn’t a job where you grab a can of epoxy from the local store and start pouring. It’s a precise process requiring a good bit of know-how.
That’s where professional epoxy floor installers come into play. Hiring experts ensures that the job is done right the first time. They have the experience to deal with existing floor issues, know how to mix and apply the epoxy correctly, and are equipped to avoid common mistakes. With professionals, you get a durable finish that not only looks great but also stands up to wear and tear. Properly installed epoxy floors are known to last for years without chipping or peeling.
Preparing the Garage for Epoxy Flooring
Before any epoxy is poured, your garage needs some preparation. This means rolling up your sleeves and doing a bit of cleaning and clearing. Start by moving everything out of your garage. Yes, it’s a hassle, but a clean workspace is essential. Sweep the floor to get rid of dust and debris. You might be surprised to find so much hidden dirt in those corners.
Once you’ve got a clear space, it’s time to inspect the concrete. Look for cracks or chips that need fixing. Remember, epoxy needs a smooth surface to adhere properly. Uneven areas or blemishes can lead to issues down the road. If the floor looks like it’s in rough shape, consider having a professional repair it. This step extends the lifespan of the epoxy finish.
Another important step is ensuring good ventilation. Epoxy fumes can be unpleasant and potentially harmful. Make sure to work with windows open or fans running to keep the air flowing. Safety gear, like masks and gloves, is a must to protect from fumes and spills. These might seem like small steps, but they add up, ensuring the epoxy coating stands the test of time and use.
With a well-prepared space, you’re setting the stage for successful epoxy floor installation that enhances the look and functionality of your garage.
Step-by-Step Epoxy Floor Installation Process
Having your garage ready means you’re all set for the main event: putting down the epoxy. This process starts with priming the concrete surface. Priming is like laying the groundwork for a successful outcome. It helps the epoxy stick better and last longer. Primers can vary depending on the condition of your floor, but it’s always essential to choose the right one for your specific needs. A trained installer will make sure to pick the appropriate primer that suits your flooring conditions.
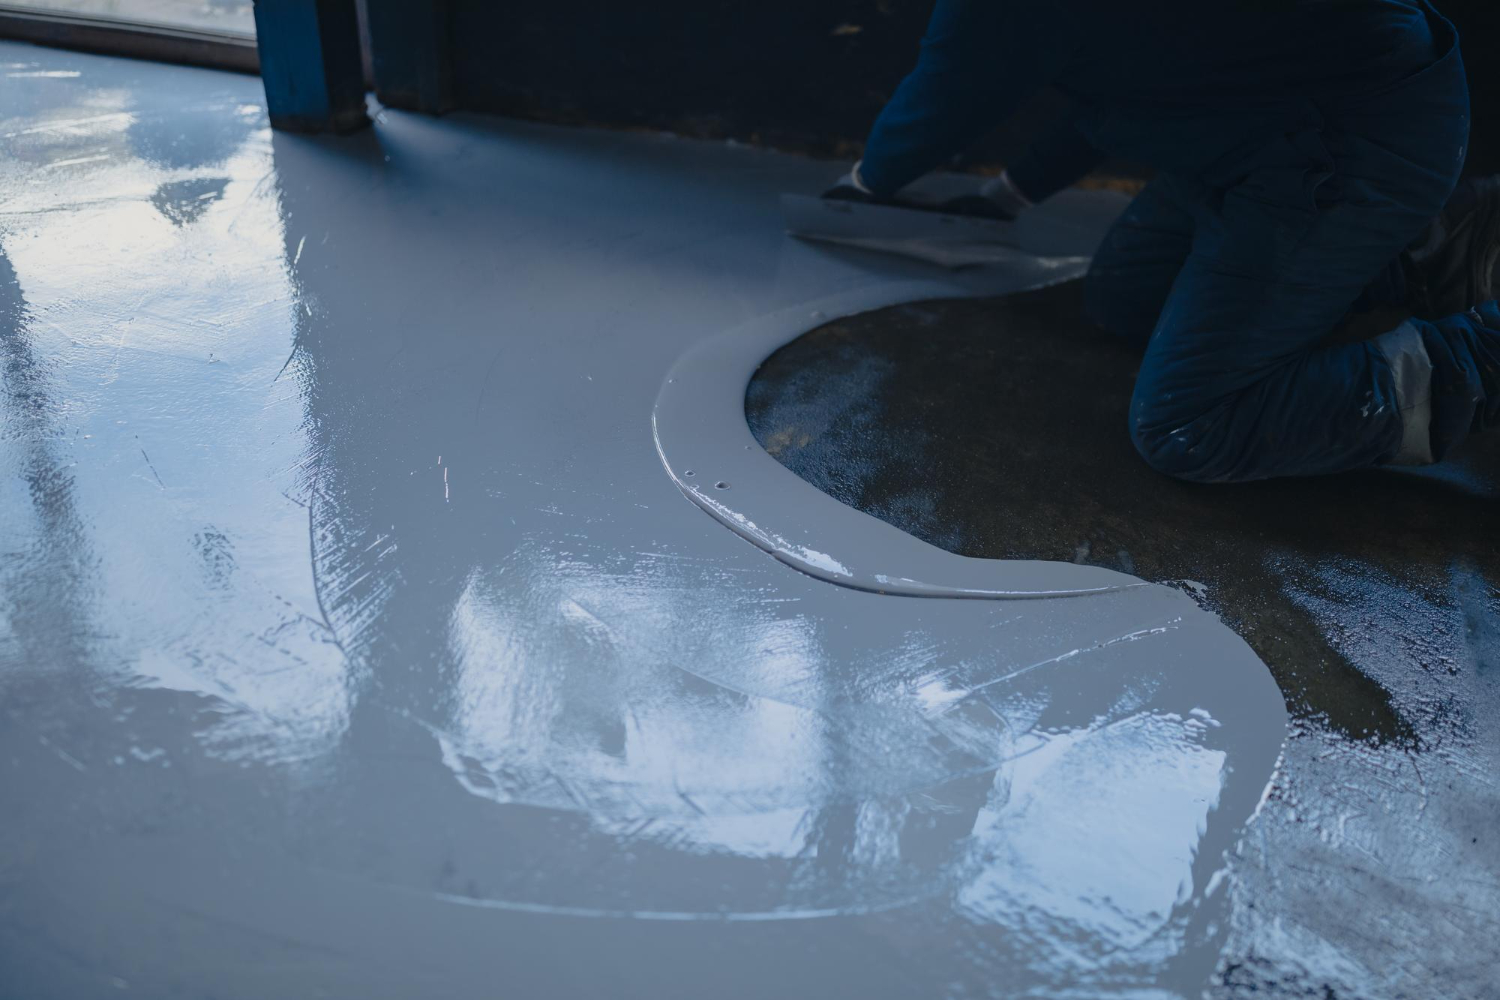
Next up is the mixing and application of the epoxy resin. Mixing needs to be spot-on to ensure the right consistency and performance. Here, it’s crucial to achieve the right balance so the epoxy adheres well and cures properly. Professionals typically follow precise guidelines for mixing to avoid any issues. After mixing, applying the resin quickly and evenly across the surface is a must. This part is all about technique, making certain the resin is spread smoothly without any patches.
For those wanting to add a bit of flair, decorative flakes or design elements can be sprinkled onto the wet epoxy. This not only enhances the look but also improves grip, making the floor less slippery. Ensuring even coverage is crucial to prevent the floor from looking blotchy or uneven. Once everything is in place, patience is key. Allowing sufficient curing time ensures that the floor sets correctly and maintains its durability.
Common Mistakes to Avoid During Epoxy Floor Installation
Epoxy flooring might look simple, but it’s easy to slip up without the right expertise. One common mistake is improper surface preparation. Skipping or rushing through cleaning and repairs can lead to an uneven finish that ruins the epoxy’s effectiveness. Another frequent error is getting the mix wrong. Too much or too little of the epoxy components leads to weak spots that could crack or peel in no time.
When applying the epoxy, evenness is paramount. Uneven application not only affects the look but can also create weak points, jeopardizing the longevity of the floor. Curing time mistakes are another pitfall. Take the time to let the epoxy cure fully. Rushing this step can lead to soft spots or an unstable surface.
Benefits of Professional Epoxy Floor Installation
Choosing to have your epoxy floor installed professionally brings a set of advantages. You’ll get a long-lasting and durable finish that can withstand daily wear and tear, whether from heavy foot traffic or vehicles. A well-applied epoxy floor also boosts the overall look and feel of the garage, offering neat aesthetics that can increase property value.
Beyond looks, professionally installed floors resist stains, chemicals, and even wear more effectively. This added resilience ensures that your floor remains in great condition for years, minimizing the hassle and cost of frequent repairs. A professional knows how to bring out the best in epoxy, ensuring your garage floor is a blend of functionality and style.
Ready to give your garage floor the makeover it deserves? Discover how partnering with experienced epoxy floor installers can transform your space into a durable and stylish environment. Trust The Garage Guys to deliver top-notch results right here in Vancouver. Want to learn more about their expert services? Explore epoxy floor installers and see how they can help bring your vision to life.